
Burp Suite is a multipurpose set of tools used to test web Application Security. It has become an industry standard suite of tools used by information security professionals. Burp Suite can be classified as an Interception Proxy. While browsing their target application, a penetration tester can configure their internet browser to route traffic through the Burp Suite proxy server. Burp Suite then acts as a (sort of) Man In The Middle by capturing and analyzing each request to and from the target web application so that they can be analyzed.

Burp Suite - Web and Application Security Testing Software
Also Read: Airgeddon and Wifi Honeypot [Ethical Hacking Tutorial]
Burp Suite is available as a community edition which is a free, professional edition that costs some money. It is a very useful tool for testing different applications. The application has features like repeater, intruder, intercept which are very important features for any penetration testing tool.
NOTE:
Installation
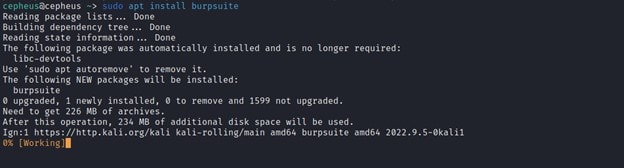
Burp Suite has three editions - Community, Professional and Enterprise versions. For this article we will see the community version. On Kali machine, we can install community version by using the apt package manager using below command.
$ sudo apt install burpsuite
Usage
Burp Suite is a suite of tools from PortSwigger designed to aid in the penetration testing of web applications over both HTTP and HTTPS. The primary tool is a proxy designed to allow the analysis and editing of web traffic. The proxy can intercept web requests and responses and read and edit them in real-time before they reach their respective destinations.
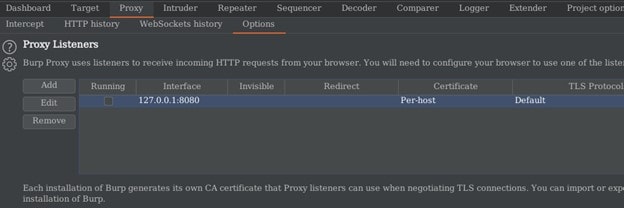
Before we start to use burp suite we have to configure the proxy listener, first we will go to Proxy -> Options. On the Proxy listener interface, we will see the default local IP and port number which is 127.0.0.1:8080 we can decide to Add, Edit, or Remove. Whenever we see the Running checkbox selected, it confirms the listener is running.
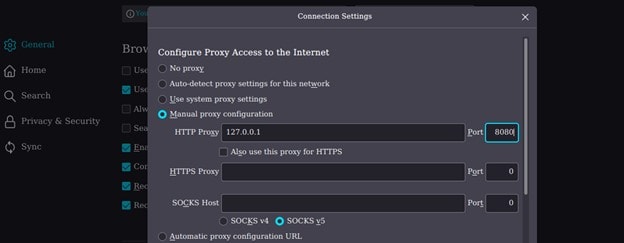
And on our Browser we will set our proxy to 127.0.0.1:800 or we can also open the pre configured browser on the burp app.
Burp Suite Features
Burp Suite has many features built into it. Some of them are explained below.
a) Proxy
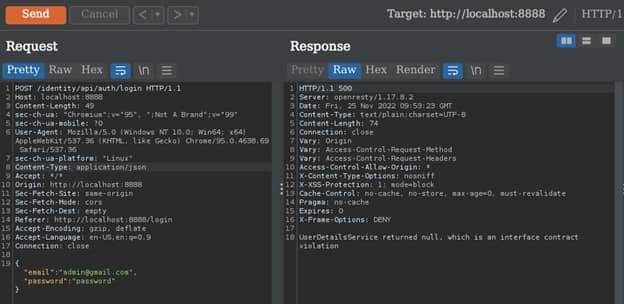
In this section we will see how Burp Suite Intercept a request from a browser. In this section we can turn the interception mode on/off by clicking the intercept tab. We can also open our preconfigured browser by clicking on the open browser tab.
To proxy a request on an external browser first we have to configure our proxy setting on our browser in (Setting -> Network Setting) on Firefox.
After configuring the browser to intercept a request we click the intercept is off tab to enable the intercept mode and it will start showing the request header. Or we can just open the preconfigured browser.
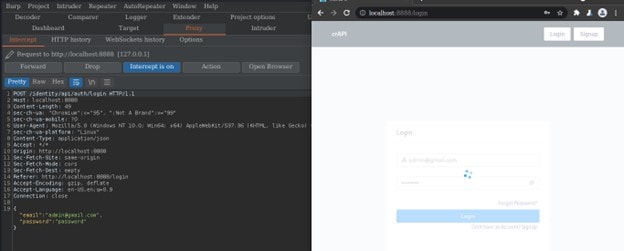
The proxy itself allows you to configure which domains have their web traffic intercepted and what sort of traffic is shown. For example, intercepting web requests is helpful as you can edit them to test how the website reacts to unusual requests.
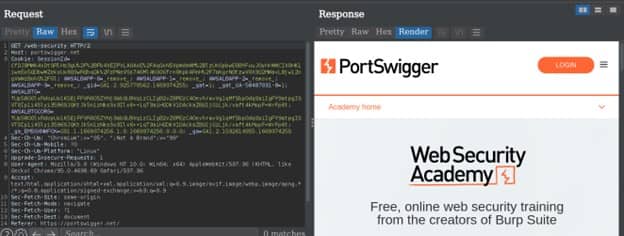
b) Repeater
The main usage of a Repeater is to send requests repeatedly with or without changing the value of a parameter or adding another parameter as well. We can simply transfer a request to repeater by the shortcut (ctrl + r) or by right clicking on any request and hit send to Repeater tab.
On the Repeater tab we have the Request and Response section. On the Response section we can see the different form like in text form or we can render the whole page
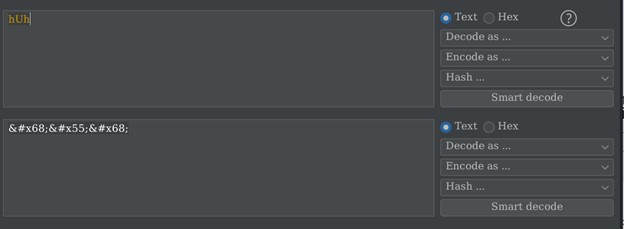
c) Decoder
Burp suite can also encode and decode data that appears like in a cookie or some other parameters. To put a data in a decoder we can simply select the text and then right click and select send to the decoder menu.
Once we are in the decoder tab we will input our data in the field and click “Decode as …” to decode or “Encode as …” to encode the data that we have entered in the field.
d) Intruder
Intruder is one of the most important features that Burp Suite has. This feature enables Pentester to fuzz into any variable object. Fuzzing is to inject a payload or raw data to test for vulnerability on a system in an automated way. The payload can be a list of code or data that are generated manually or automatically. Therefore, Intruder automates the process of injection or fuzzing on a request header.
How does Intruder Works ?
The first step is to select a header that we want to try to send many request or Brute Force parameter values and send the request to the intruder by using the shortcut (Ctrl + i) or right click on the request and select the send to Intruder menu.
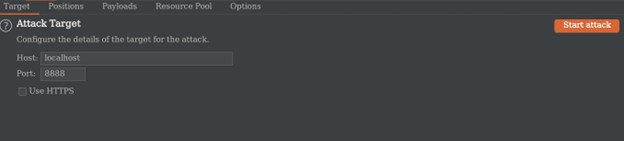
After sending the request to the Intruder then we will select our target domain and port but burp mostly select the target automatically.
After selecting our target we will then go to the Positions tab to select our variable value that we want to try many possible other values like payload, username, commonly used password, or directory for this example we have intercepted a login request so we will try to login by using commonly known wordlist like seclist.
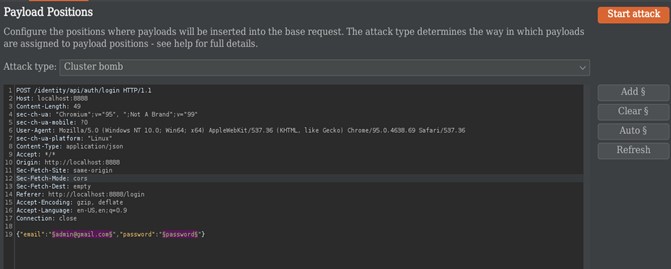
As the above image shows we have selected our variable and attack type. We have four kinds of attack types:-
- Sniper : This uses a single set of payloads. Tries one payload after the other.
- Battering ram : It iterates through the payloads, and places the same payload into all of the defined payload positions at once.
- Pitch Fork : The attack iterates through all payload sets simultaneously, and places one payload into each defined position
- Cluster Bomb : The attack iterates through each payload set in turn, so that all permutations of payload combinations are tested.
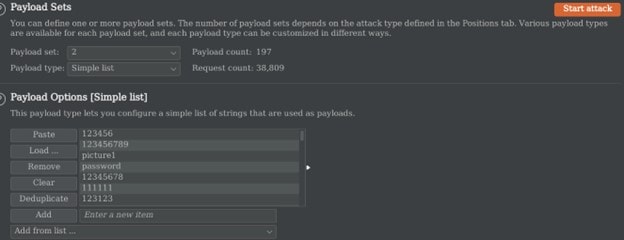
Then we paste our payload or data by clicking on the Payloads tab. For our wordlist we will use below file from GitHub:-
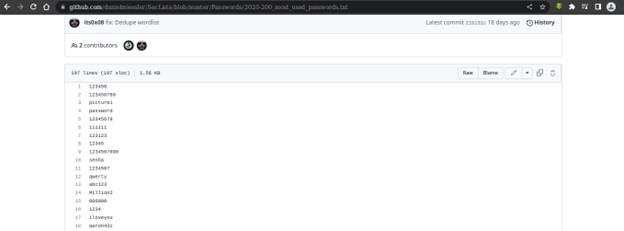
We will copy this wordlist and paste it into (Intruder -> Payloads) on both payload set. We can also add our custom payload.
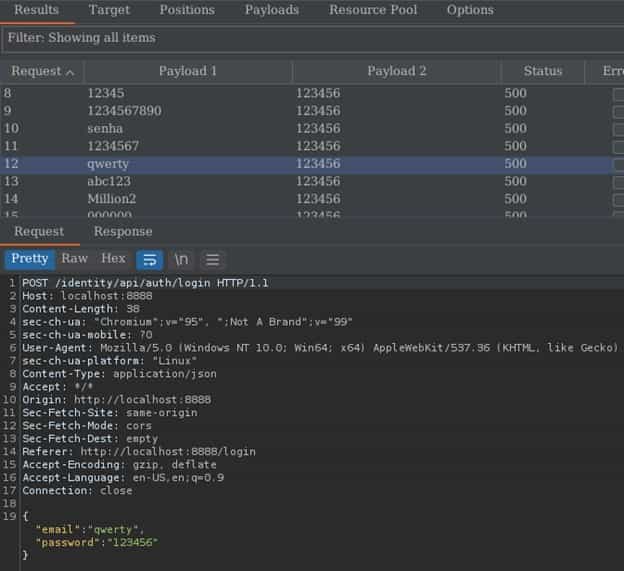
After setting up the whole thing we hit the start attack button and burp will start sending requests by changing the selected variable on the request header.

Our final task will be to analyze which payload works effectively by analyzing the status code and length of the response.
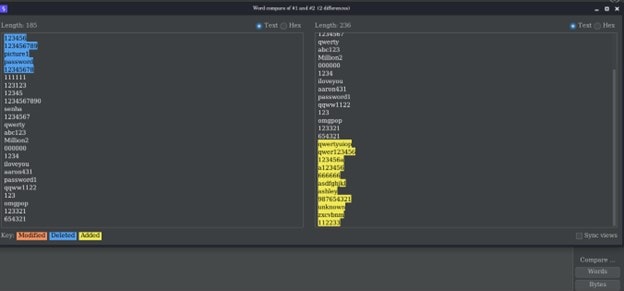
e) Comparer
Burp Comparer is a simple tool for performing a comparison between any two items of data. This feature works using two ways.
Word compare - This comparison tokenizes each item of data based on whitespace delimiters, and identifies the token-level edits required to transform the first item into the second. It is most useful when the interesting differences between the compared items exist at the word level, for example in HTML documents containing different content.
Byte compare - This comparison identifies the byte-level edits required to transform the first item into the second. It is most useful when the interesting differences between the compared items exist at the byte level, for example in HTTP requests containing subtly different values in a particular parameter or cookie value.
Conclusion
To finalize this article, Burp Suite is a tool from PortSwigger designed to aid in the penetration testing of web applications over both HTTP and HTTPS. It has also a key feature called Extender that supplies the tool with many more functionality which is built and updated by other Programmer and can be easily integrated. It also scans web applications automatically for vulnerabilities.